How to Write a CV That Gets You Hired in 2025
Last updated: May 2025
Creating a strong CV is one of the most important steps in landing your dream job. Whether you're a recent graduate or an experienced professional, your CV is your first impression—and it needs to be clear, concise, and tailored to the role.
What Is a CV?
A CV (Curriculum Vitae) is a formal document that outlines your professional history, education, skills, and achievements. It’s typically used when applying for jobs, internships, or academic roles.
Step-by-Step: How to Write a CV
1. Start by Making an account
First go to our page CV Maker.
Login if you have an account, if you
don't have an account then just
go
to Register page and easily make a new
account.
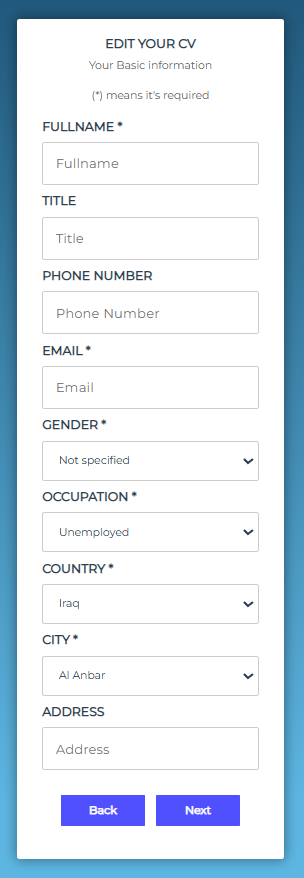
2. Enter Your Contact Information

At "FULLNAME" enter your full name (Example: John Doe).
At "TITLE" enter your job title (Example: Programmer).
At "PHONE NUMBER" enter your phone number (Optional).
At "Email" enter your email (Example: Johndoe@g***l.com).
At "Gender" select your gender (Example: Male).
At "Occupation" select "Unemployed" if you are Unemployed, "Currently working" if your are employed
but searching for a second job or "Working (Part-time)" if you have a part time job.
At "Country" select your country (Example: Iraq).
At "City" select your city (Example: Irbil).
At "Address" enter your Address (Optional).
Then click "Next".
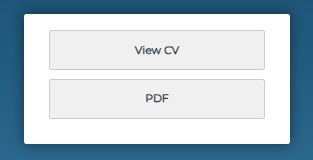
At the top you're going to see 2 tabs, the first one is "View CV" to view your CV, the second one is
"PDF" to turn your CV into PDF file.
Below it you're going to see 2 tabs, the first one is "Information" to enter your cv information,
the
second one is "Design" to change the design of your CV.
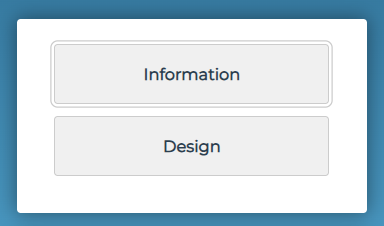
if you want to change any of the information you entered prevousily jus click on "Information" then
click on "Basic" and change your information.

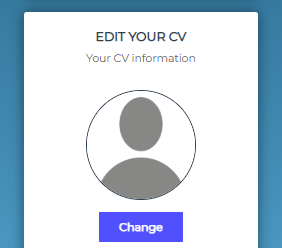
3. Change your image
Just click "Change" below the image and choose your image.
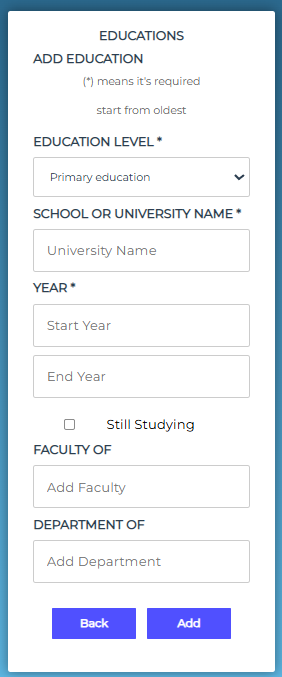
4. Enter your education information
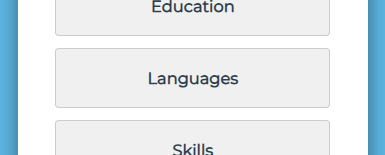
Click on "Education".

At "Education Level" select your education level (Example: Bachelor).
At "University Name" enter the School or University Name you studied at (Example: University of
Iraq).
At "Start Year" enter the year you started the university and at "End Year" enter the year you
finished the university or select "Still Studying" if you are still studying (Example: 2021 and
2025).
At "Faculty of" enter the Faculty you studied (Example: Computer Science).
At "Department of" enter the Department you studied (Example: Information Technology).
Then click "Add" and after that click "Back".
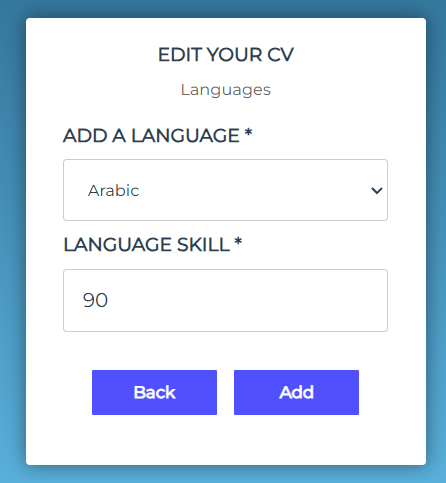
5. Enter the languages you know
Click on "Languages".
In "ADD A LANGUAGE" select a language that you know (Example: Arabic).
In "LANGUAGE SKILL" enter the percentage that you know of the language (Example: 90).
Then click "ADD".
If you want to add more languages just select the language and enter the percintage that you know of
the language and click "ADD".
After you are done click "Back".
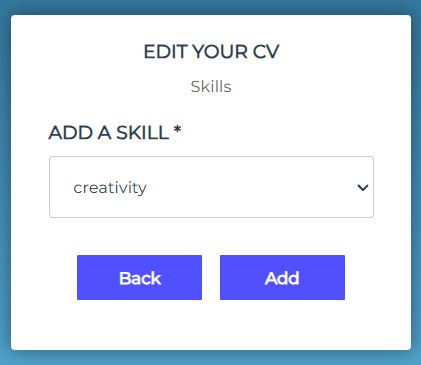
6. Enter the skills you have
Click on "Skills".

In "ADD A SKILL" select a skill that you have (Example: Punctual).
If you didn't find the skill you're looking for, go to the buttom of the list and click "Other" and
in "Other Skill" enter the skill.
Then click "ADD".
If you want to add more skills just select another skill and click "ADD".
After you are done click "Back".
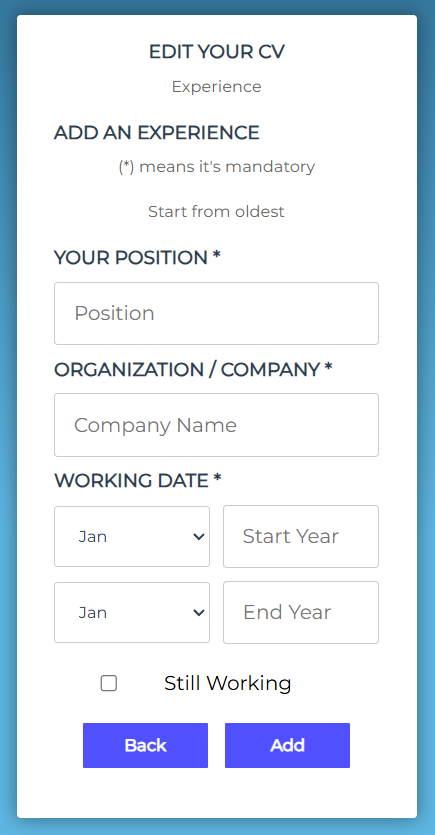
7. Enter your past experiences
Click on "Experience".
In "Your Position" enter the position you had (Example: Backend Engineer).
In "Organization / Company" enter the name of the organization/company you worked for.
In "Working date" enter the date you started and the date you left the company.
Then click "Add" and after that click "Back".
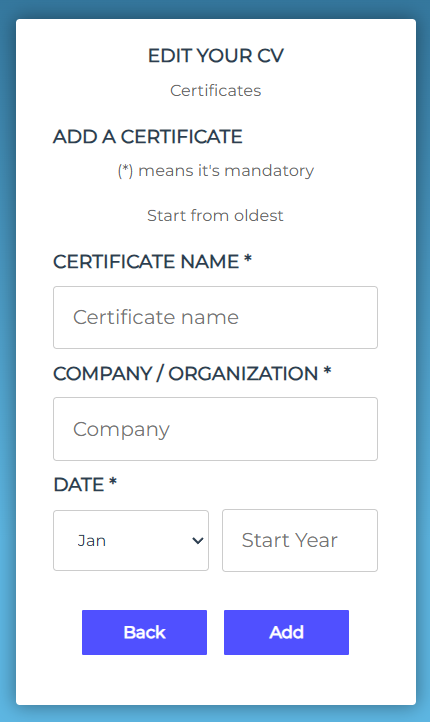
8. Enter your certificates
Click on "Certificate".

In "Certificate Name" enter the name of the certificate (Example: Frontend Developer).
In "Organization / Company" enter the name of the organization/company that gave you the
certificate.
In "Date" enter the date you recieved the certificate.
Then click "Add" and after that click "Back".
9. Enter the time you Volunteered
Click on "Volunteer".
In "Your Position" enter the position you had when you Volunteered (Example: Contributor).
In "Organization / Company" enter the name of the organization/company you volunteered with.
In "Working date" enter the date you started and the date you finished your volunteer.
Then click "Add" and after that click "Back".

10. Enter the computer skills you have
Click on "Computer Skills".
In "ADD A COMPUTER SKILL" select a computer skill that you have (Example: Excel).
If you didn't find the skill you're looking for, go to the buttom of the list and click "Other" and
in "Other Computer Skill" enter the computer skill.
Then click "ADD".
If you want to add more computer skills just select another skill and click "ADD".
After you are done click "Back".

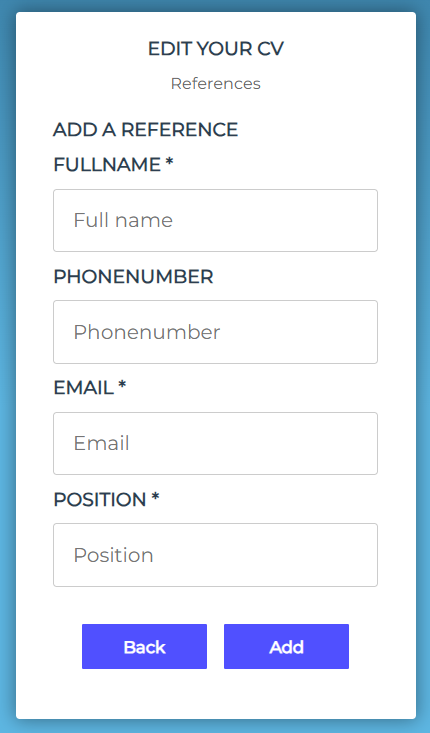
11. Enter your references
Click on "References".
In "Fullname" enter the fullname of your reference.
In "Phonenumber" enter the phonenumber of your reference. (Optional)
In "Email" enter the email of your reference.
In "Position" enter the position of your reference.
Add as much references as you need and then click "Add" and after that click "Back".
NOW your CV is ready and you can apply to any job.
You can export it into PDF by clicking on "PDF".
Common Mistakes to Avoid
- - Typos or grammar errors
- - Using an unprofessional email (e.g., cooldude123@email.com)
- - Too much information (irrelevant jobs or personal details)
- - Generic personal statements
Final Tips
- - Tailor your CV to each job application
- - Use keywords from the job description
- - Ask a friend or mentor to review your CV
Need help? Try our free CV builder at JobCV.net and get started today!
Keywords: how to write a CV, CV writing tips, CV examples, resume guide 2025, student CV, job application CV